How to Make DIY Concrete Stepping Stones: Easy Weekend Project
Transform your garden or walkway with DIY concrete stepping stones! This fun, beginner-friendly project lets you create custom, durable path stones in a single weekend. Whether you’re in Lubbock’s sunny climate or elsewhere, our step-by-step guide makes crafting concrete stepping stones simple and rewarding. Want to learn more about concrete’s durability? Check out why concrete is best for driveways.
Why Choose DIY Concrete Stepping Stones?
Concrete stepping stones are affordable, durable, and customizable, perfect for adding charm to gardens or walkways. They withstand Lubbock’s hot, dry climate and are easy to make with basic tools. Plus, DIY concrete crafts let you unleash your creativity! Learn how to install a concrete stepping stone path for a complete project.
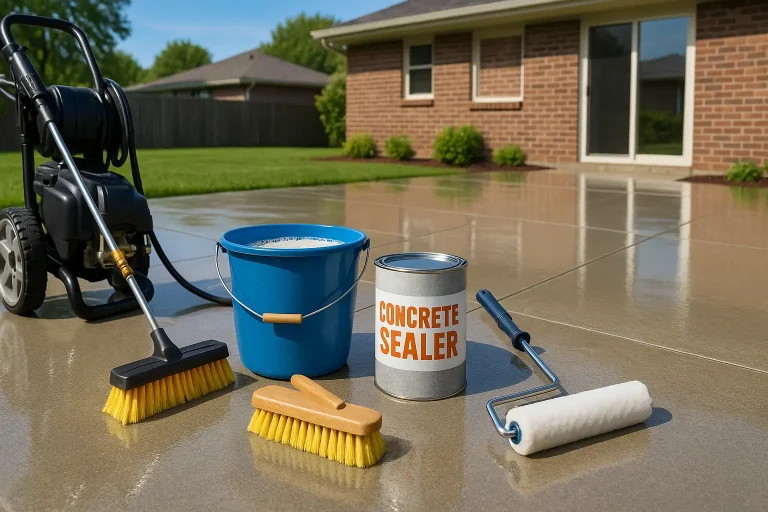
Step 1: Gather Your Materials
You’ll need:
- Concrete Mix: Use a standard concrete mix (e.g., Quikrete) with a 1:2:3 ratio (cement:sand:gravel) for durability.
- Molds: Buy plastic stepping stone molds or use household items like cake pans or pizza boxes (lined with plastic).
- Mixing Tools: A bucket, trowel, and mixing drill.
- Decorations: Optional glass beads, tiles, or stones for custom designs.
- Safety Gear: Gloves, dust mask, and safety glasses.
Pro tip: Choose eco-friendly concrete mixes with low VOCs for a sustainable project.
Step 2: Prepare Your Workspace
Set up outdoors in a shaded, flat area (Lubbock’s dry weather is ideal):
- Lay down a tarp to catch spills.
- Ensure molds are clean and coated with a release agent (e.g., cooking spray) for easy removal.
- Keep water nearby for mixing and cleanup.
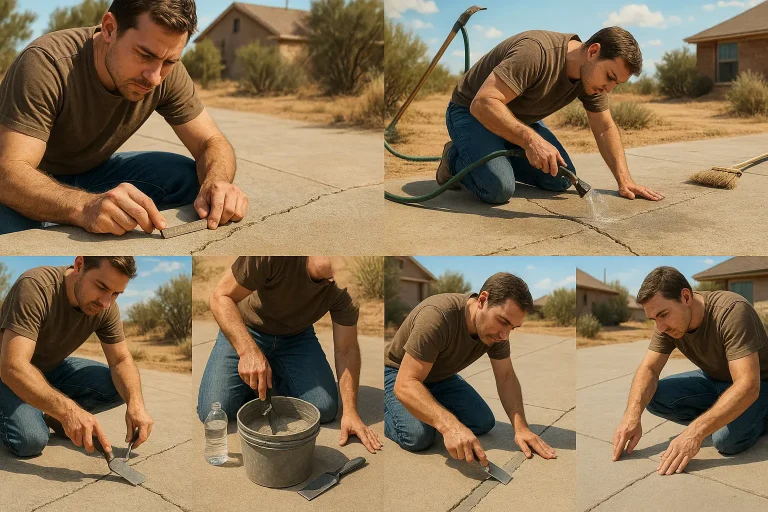
Step 3: Mix the Concrete
Follow these steps to mix the perfect concrete for your DIY concrete stepping stones:
- Add concrete mix to a bucket.
- Slowly add water (follow package instructions, typically 1 part water to 5 parts mix).
- Stir with a trowel or drill until the mix is smooth, like thick pancake batter.
Avoid overwatering, as it weakens the concrete.
Step 4: Pour and Decorate the Molds
- Pour Concrete: Fill molds evenly, tapping to remove air bubbles.
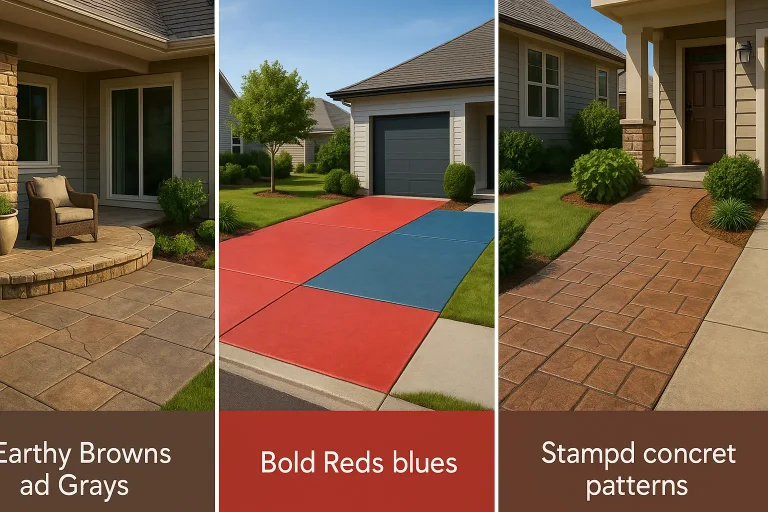
- Add Designs: Press glass beads, tiles, or leaves into the wet concrete for a custom look.
- Smooth the Surface: Use a trowel to level the top for a polished finish.
Get creative with patterns to make your stepping stones unique!
Step 5: Cure and Remove the Stones
- Cure: Let the stones cure in the molds for 24–48 hours in a shaded area. Cover with plastic to retain moisture, especially in Lubbock’s dry climate.
- Remove: Gently pop the stones out of the molds. If stuck, tap lightly or soak in water.
- Final Cure: Let stones cure for 7 days before placing them in your garden.
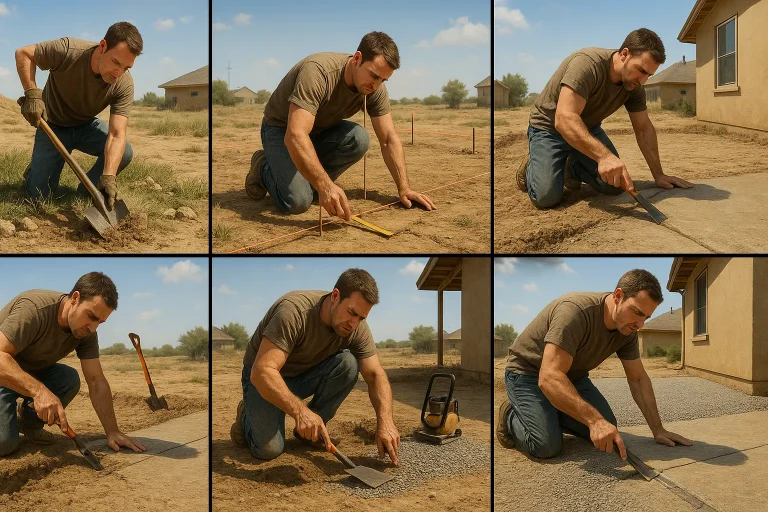
Step 6: Place Your Stepping Stones
Place your DIY concrete stepping stones in your garden or walkway:
- Plan the Layout: Space stones 18–24 inches apart for comfortable stepping.
- Prepare the Ground: Dig shallow holes and level with sand or gravel.
- Set Stones: Press stones into place, ensuring stability.
For a full path, see our guide on how to install a concrete stepping stone path.
FAQ: Common Questions About DIY Concrete Stepping Stones
Q: What’s the best concrete mix for DIY concrete stepping stones?
A: A standard concrete mix with a 1:2:3 ratio works best for durability and ease.
Q: Can I make stepping stones without molds?
A: Yes! Use sturdy household items like cake pans or create freeform shapes on plastic.
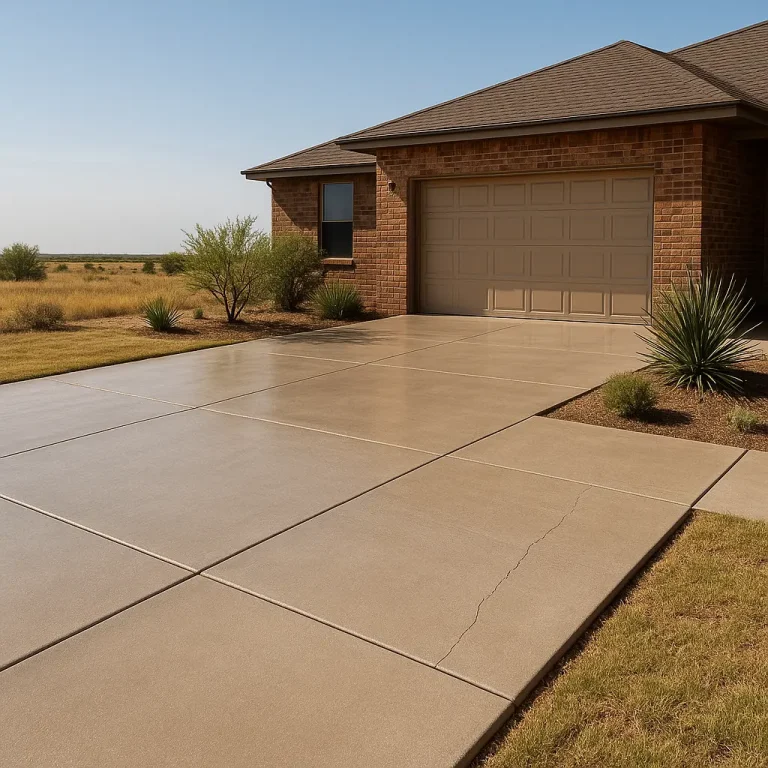
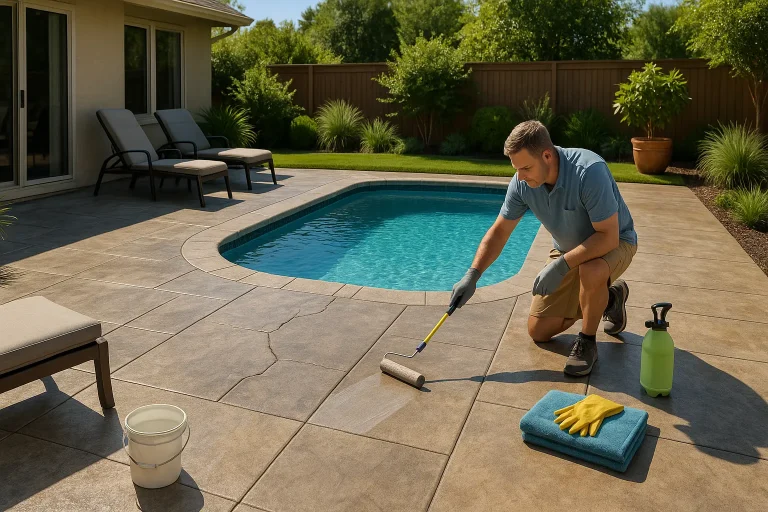
Q: How do I protect my stepping stones in Lubbock’s climate?
A: Seal your DIY concrete stepping stones with a penetrating sealer to resist heat and dust.
Q: How long do DIY concrete stepping stones last?
A: With proper care, they can last 10+ years, even in harsh climates.
Why Choose Professional Concrete Services?
DIY concrete stepping stones are fun, but larger projects need expert care. Our team offers professional concrete services for custom designs and durable results. Want professional concrete work? Get a free estimate today!
By following these steps, you’ll create beautiful DIY concrete stepping stones to enhance your outdoor space.